
Theory
The Heptagram in Numbers
The following sketch shows a heptagram with all the edges and angles we’ll need. Below the actual heptagram, the sketch also shows one of the seven edges from all sides.
The important angles within the heptagram are:

The edges shown in the sketch are as follows. The edge of the heptagon spanning the heptagram is h and computes to

Where r is the radius of the circle containing both heptagon and heptagram.
The edge of the outer heptagram e is either

The inner edge f of the heptagram is

Where t is the thickness of one actual complete heptagram edge.
The segments x, y and z describe where two edges cross each other:

Example
I know, it all probably doesn’t make any sense, yet. So I’ve got this example for you. Let’s start with a radius of r = 8.5 cm and an edge thickness of t = 1cm
- e = 13.3 cm
- f = 10.8 cm
- x = 4.1 cm
- y = 2.6 cm
- z = 2.1 cm
Practice
Tools
Here is a brief list of tools you’ll probably need for this adventure:
- small and sharp chisel
- small hammer or mallet
- an angle cutting jig and an angle gauge
- a precise saw (a Japanese saw, for instance)
- ruler and pencil
- a rasp, file and sandpaper
- wood glue
- patience
Dimensions
I chose an edge length of e = 28 cm (yeah, there’s something with 7 in there :)) and an edge thickness of t = 2cm. “Why?” I hear you asking. Well, because that’s what I could get my hands on in the hardware store.
Let’s do this then
First of all, cut the seven edges to length (e). Then, at both ends of each edge-piece, cut the angle of γ/2 = 38.57 °. By the time you’re done, you should have 7 identical edges. At this point, it is important to be precise and do lots of filing and sanding, until all seven edges have the exact same length and angles at the end.

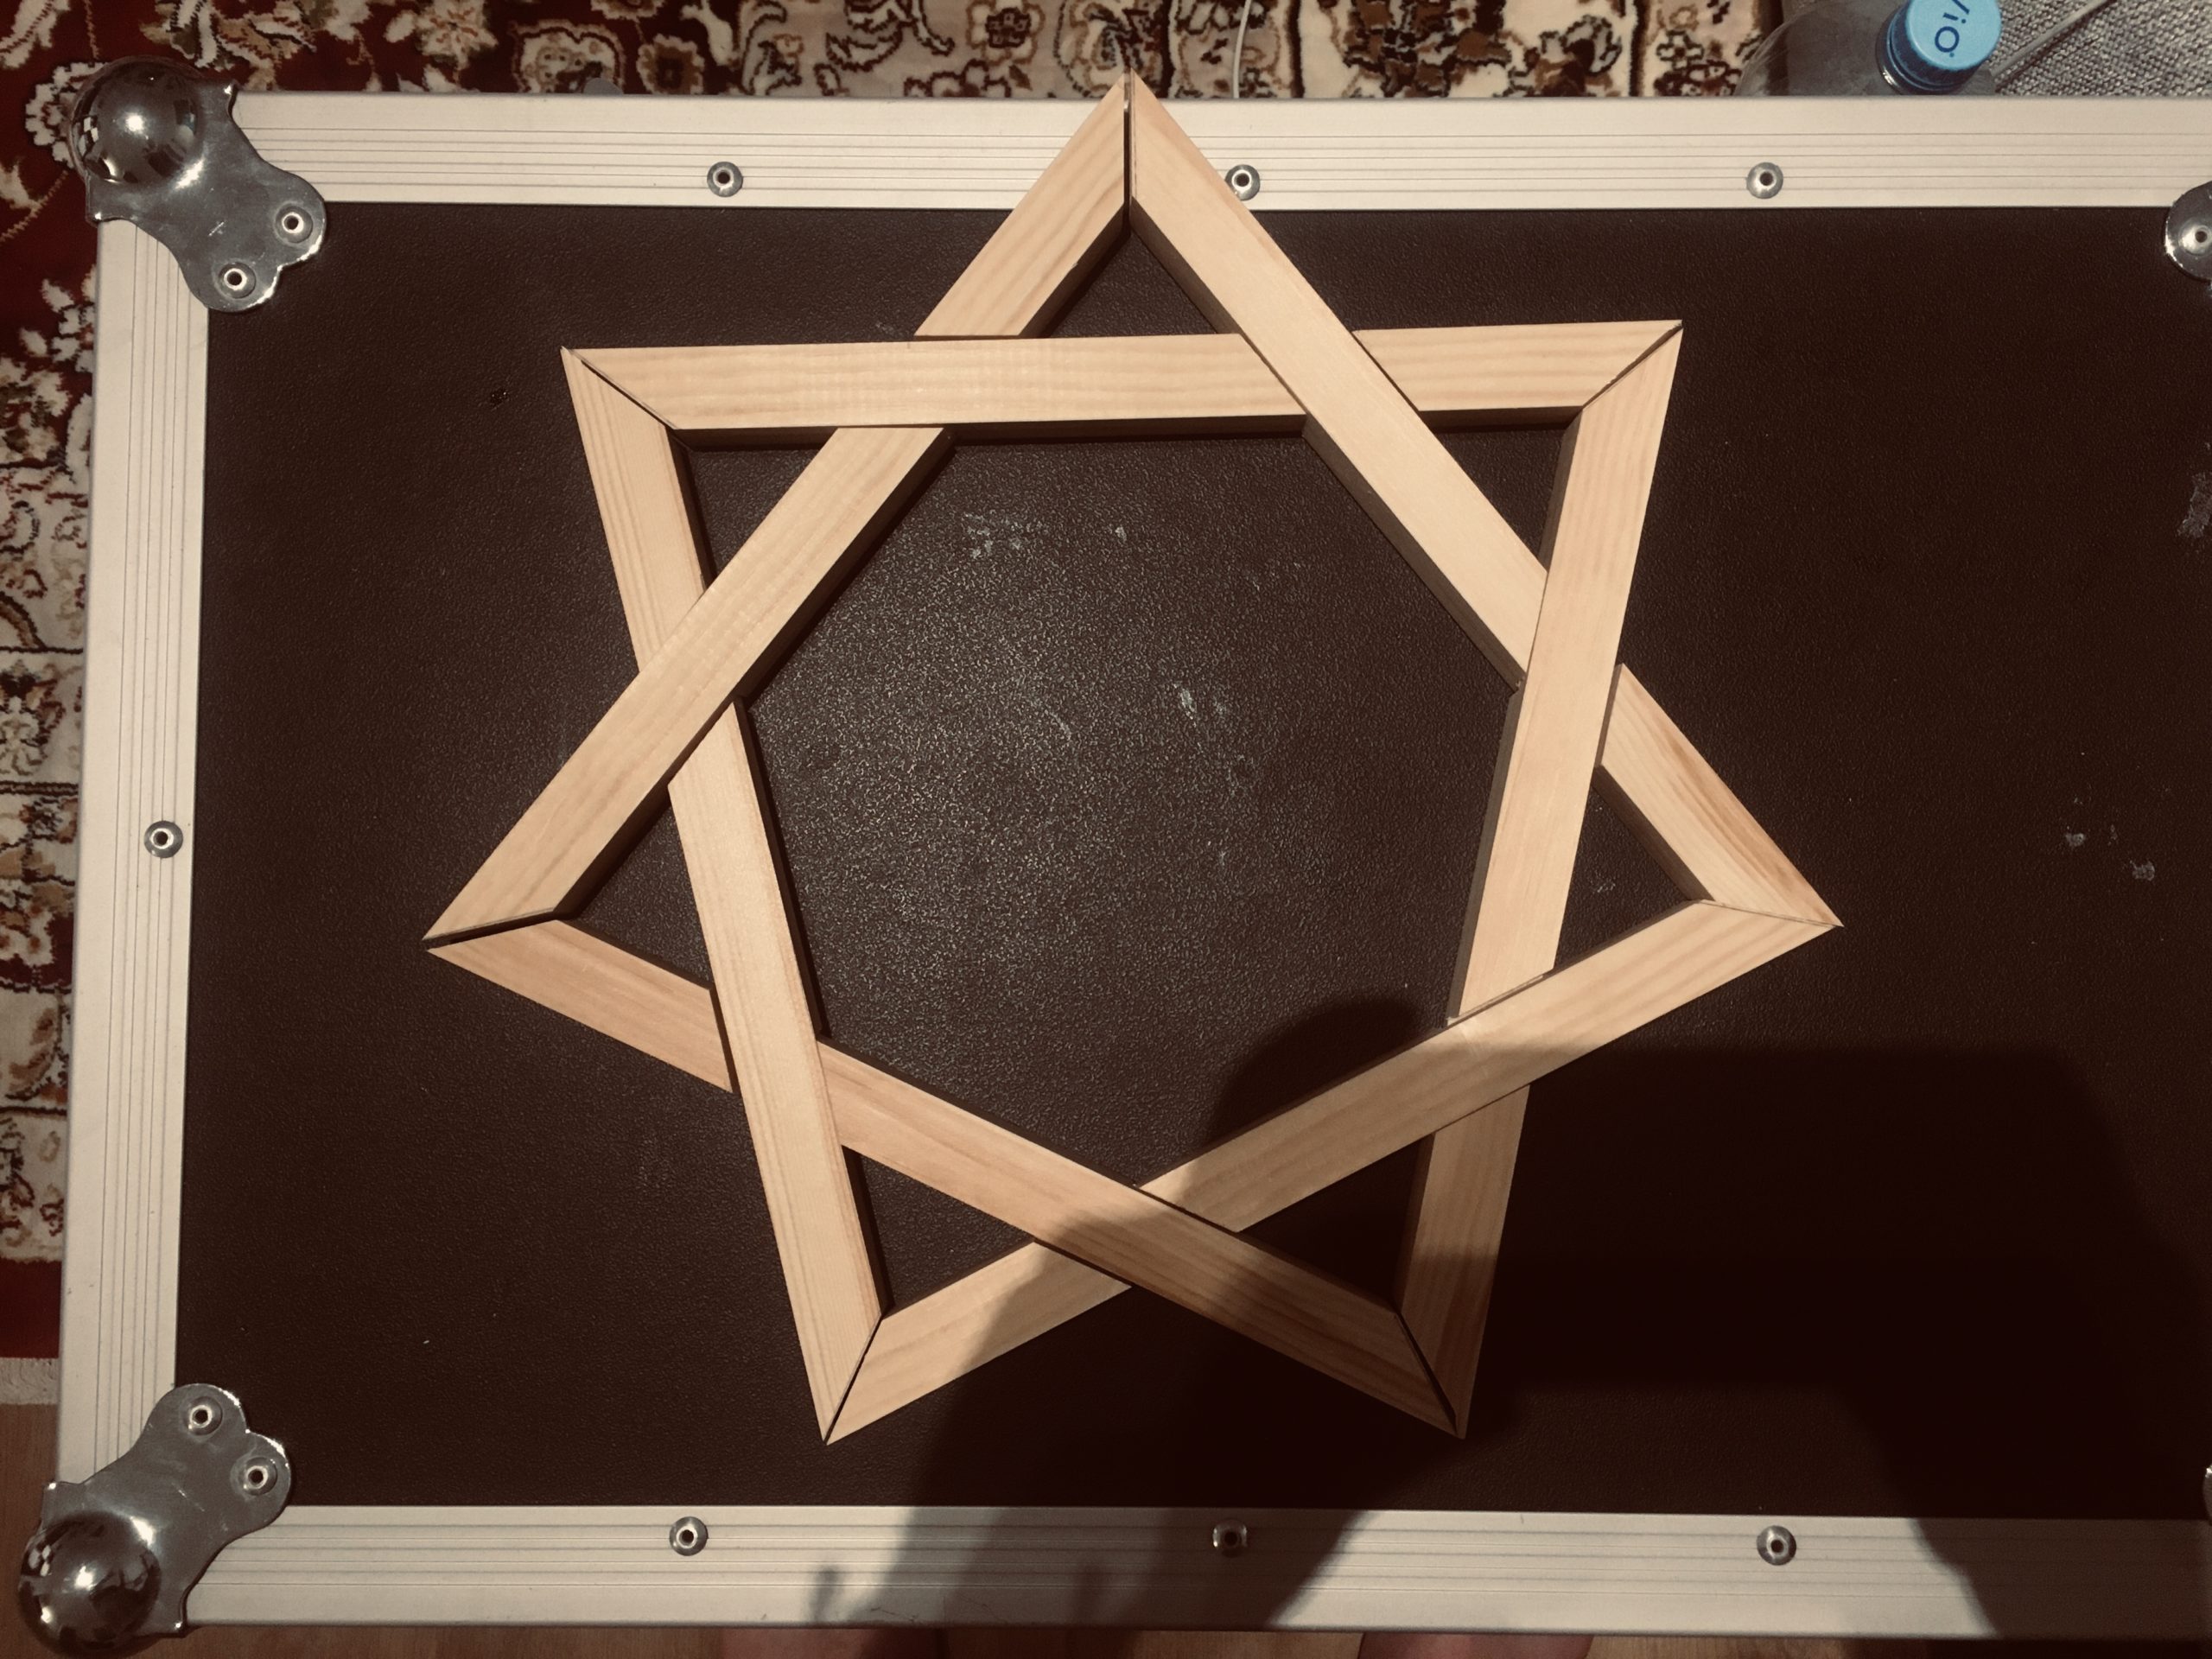
If you now try to lay out the heptagram, it’ll look something like this:
Now comes the hard part. Now, we need to basically take away wood wherever the edges cross each other. However, we want it to look nice and neat with the least amount of gaps possible, right? Right. So precision will be the key, again.
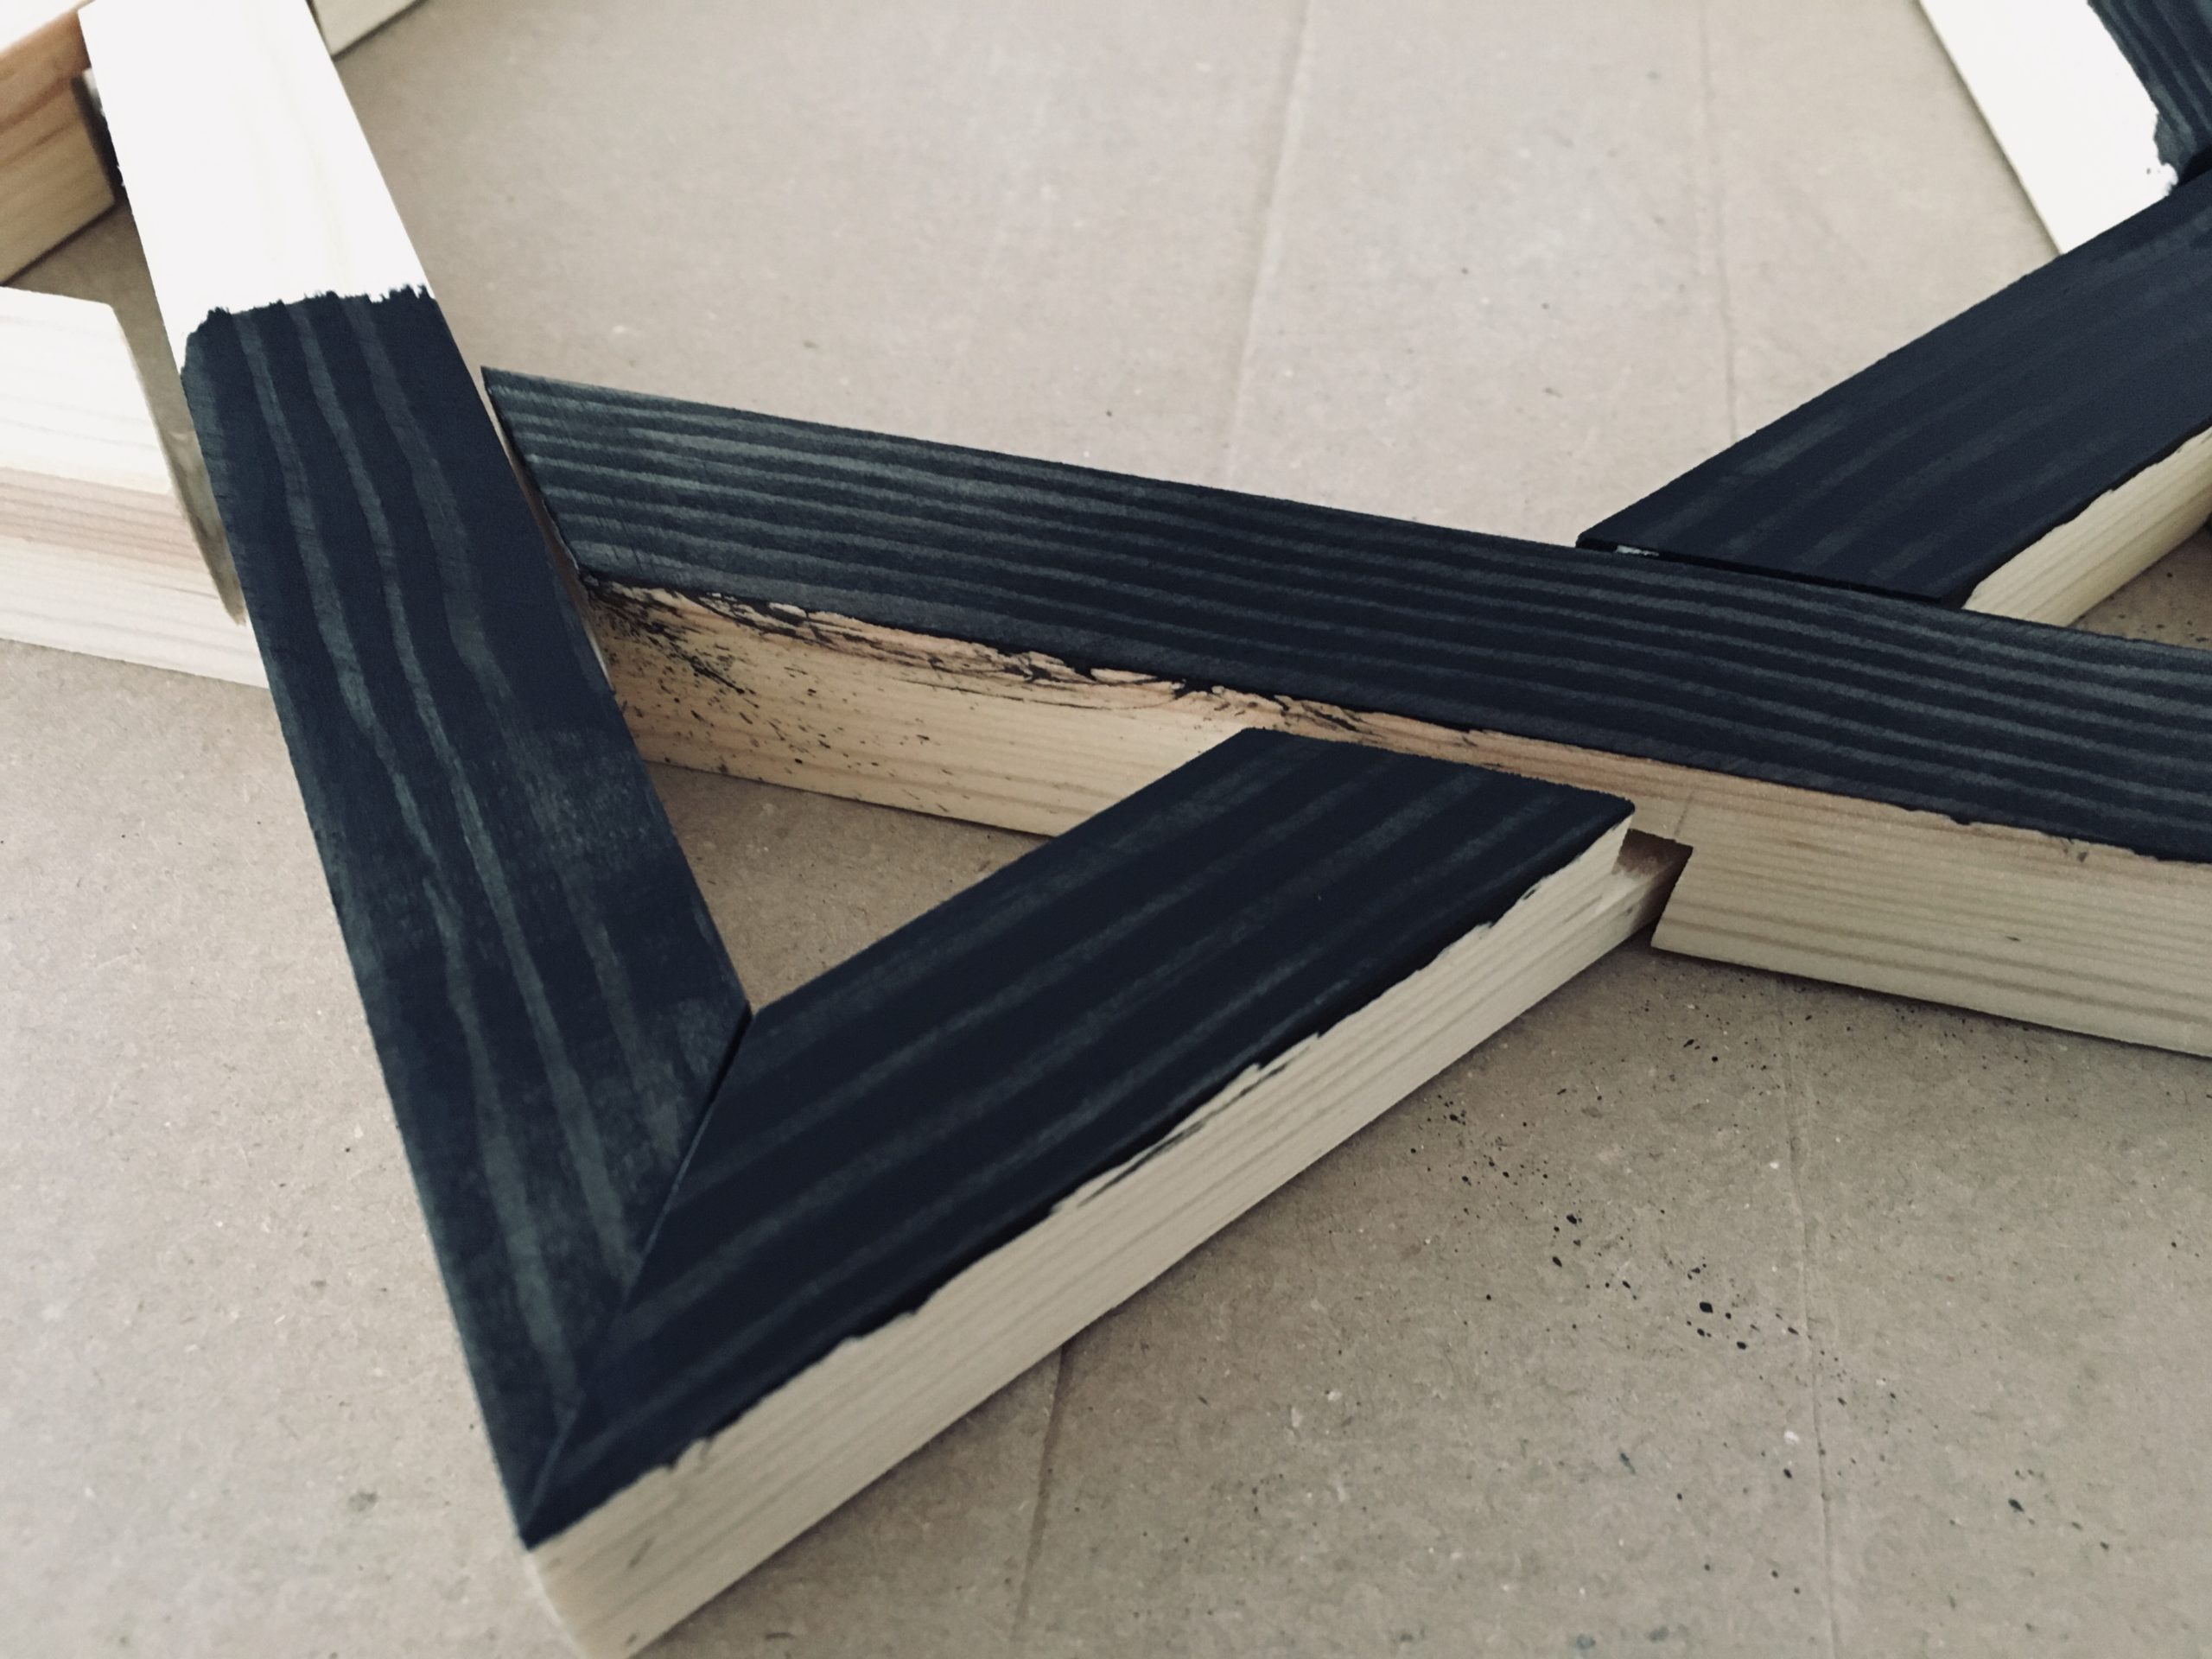
I wanted the edges of the heptagram to be entangled with each other. So each edge needs to be symmetric such that one side accepts and one side overlaps the adjacent edges. Sounds weird, I know. It’ll become clear on the following photos:
The segments and angles you’ll need at this point are β = 51.43 °, x on the outer and z on the inner side of the edge.
On each of the seven edges proceed as follows:
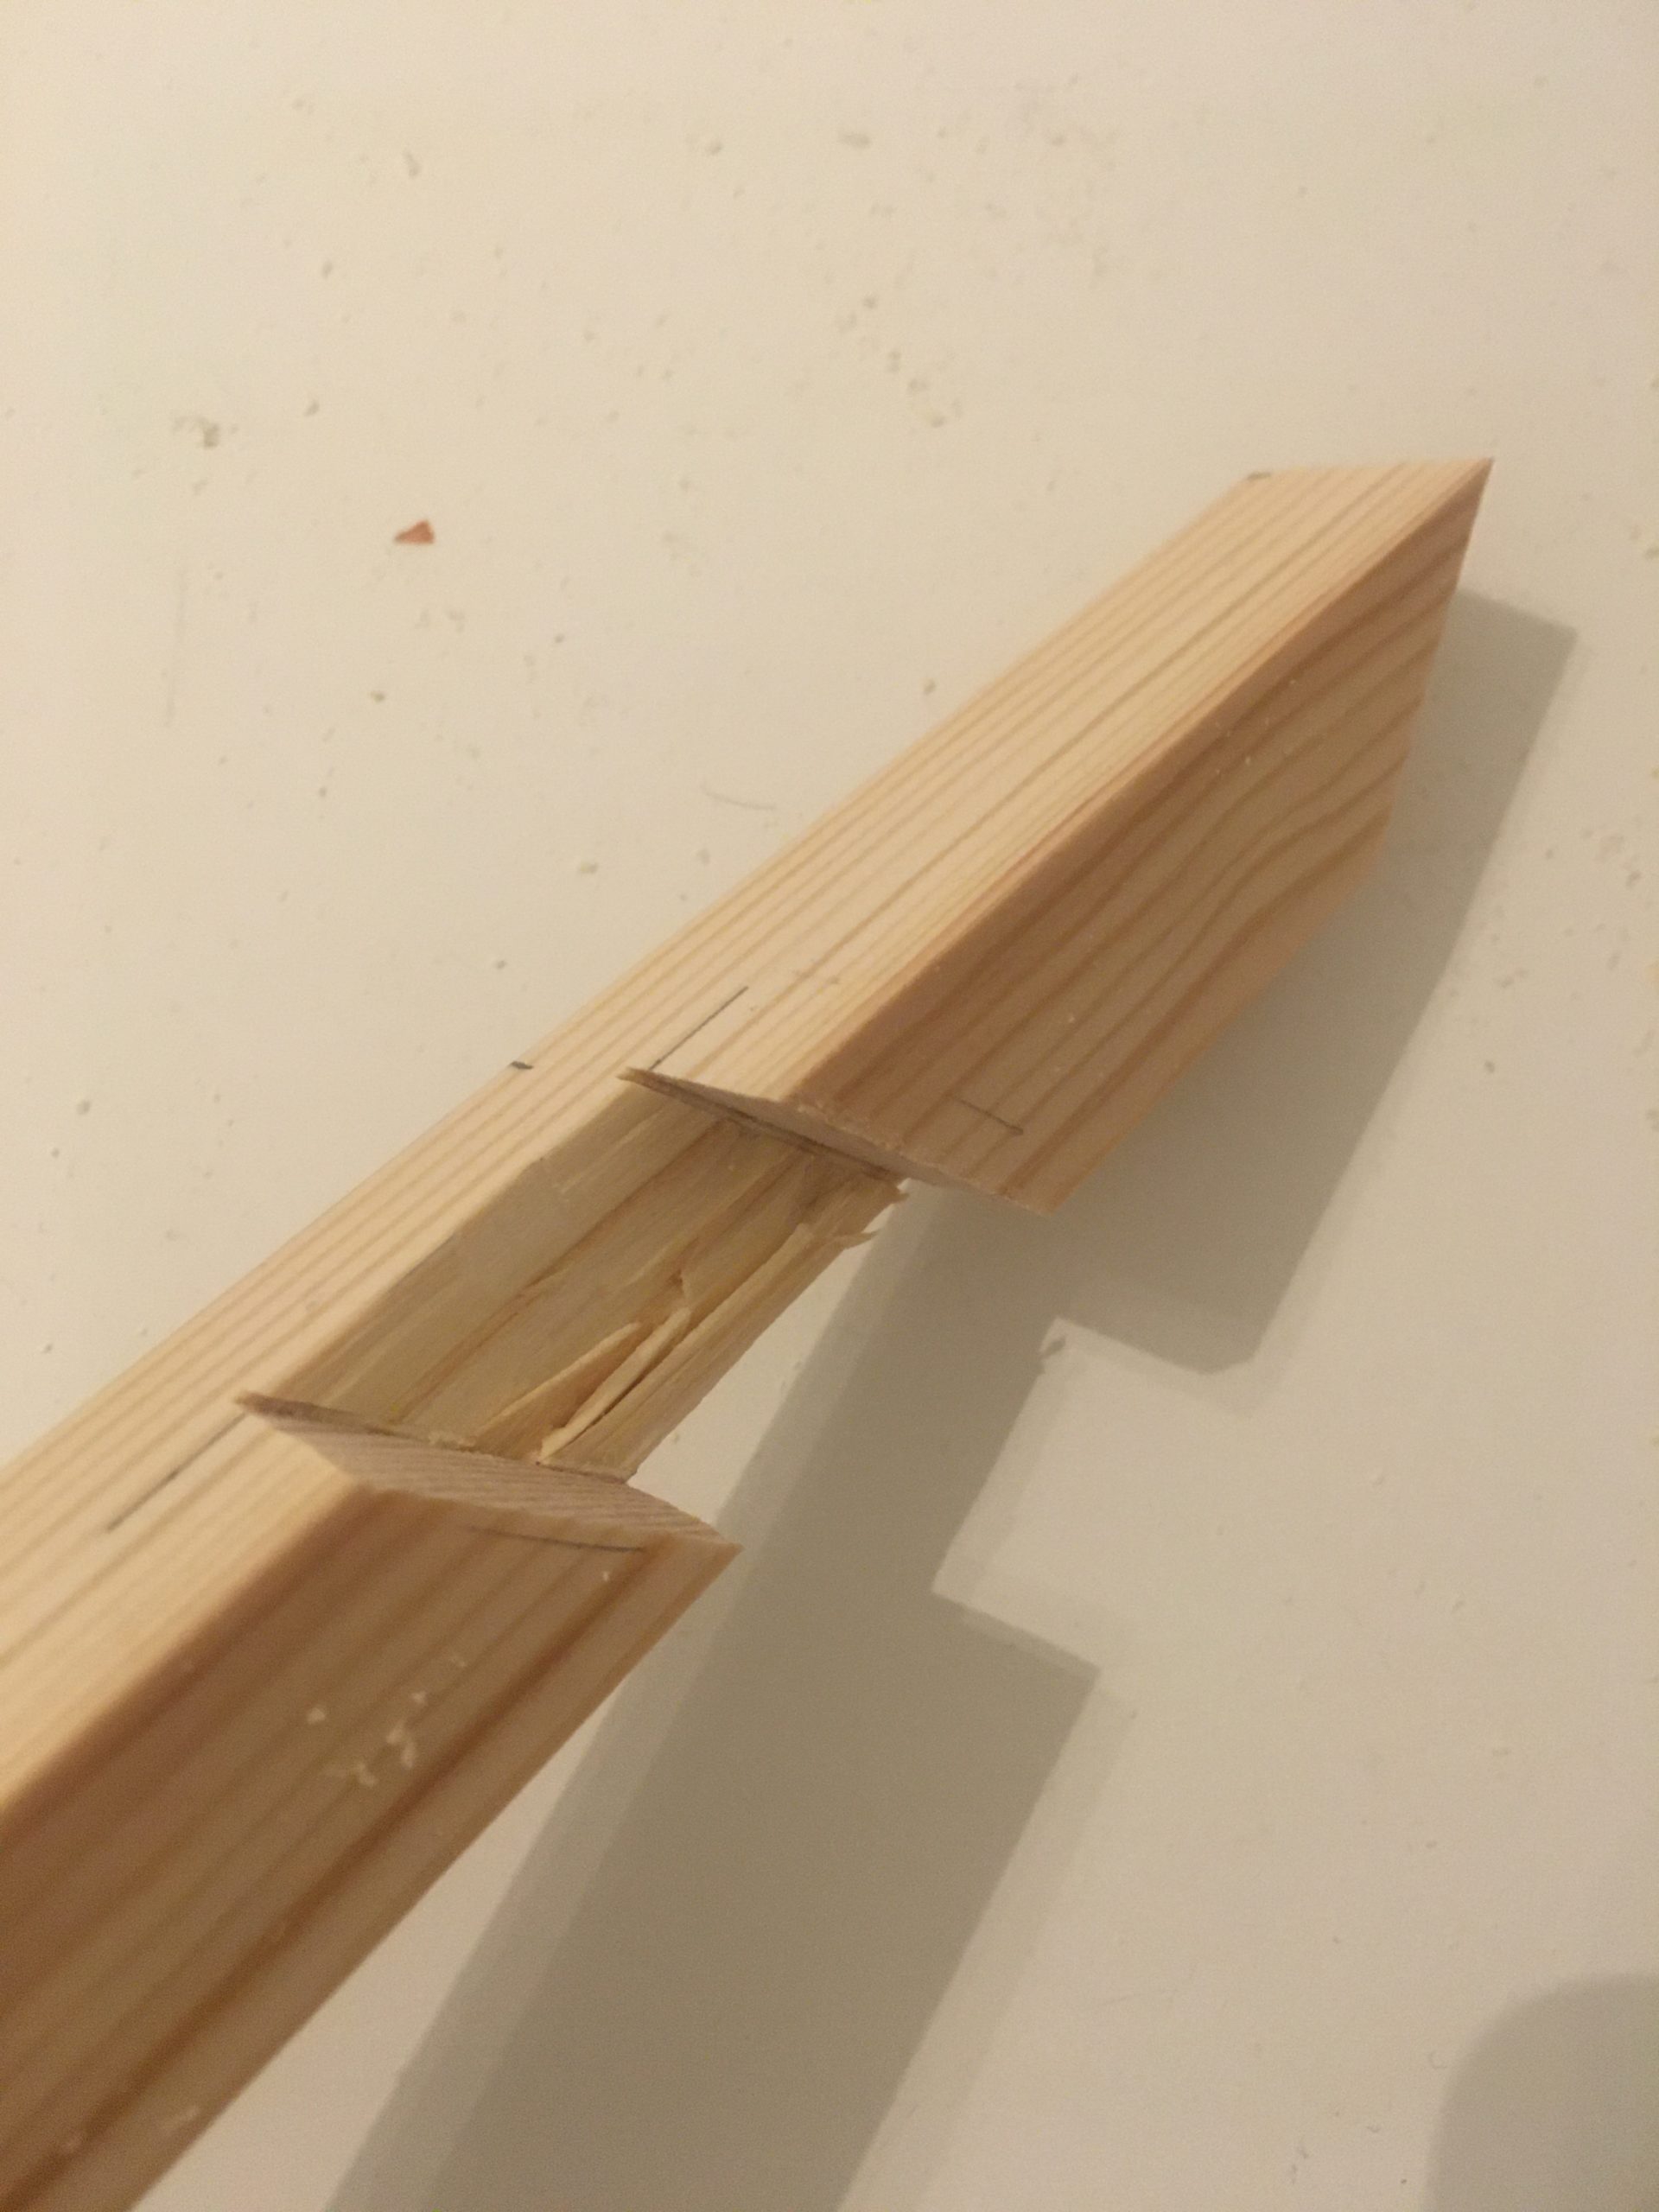
Use your pencil, ruler and angle gauge to mark the “wedges” that need to be taken away. Use the saw and precisely cut down to a depth that is exactly half of the thickness (t/2). Repeat this for both ends of an edge. Now, take the chisel and cut out the “wedge”.
Now will be the first time to try and put it together:
If you don’t work precisely, you’ll end up with gaps like I did!
Which means, now comes the fine-tuning part, where you need to use the rasp, file, chisel and sandpaper, to make everything fit without any gaps. Tip: You can try and swap edges, the gaps might resolve themselves automagically.
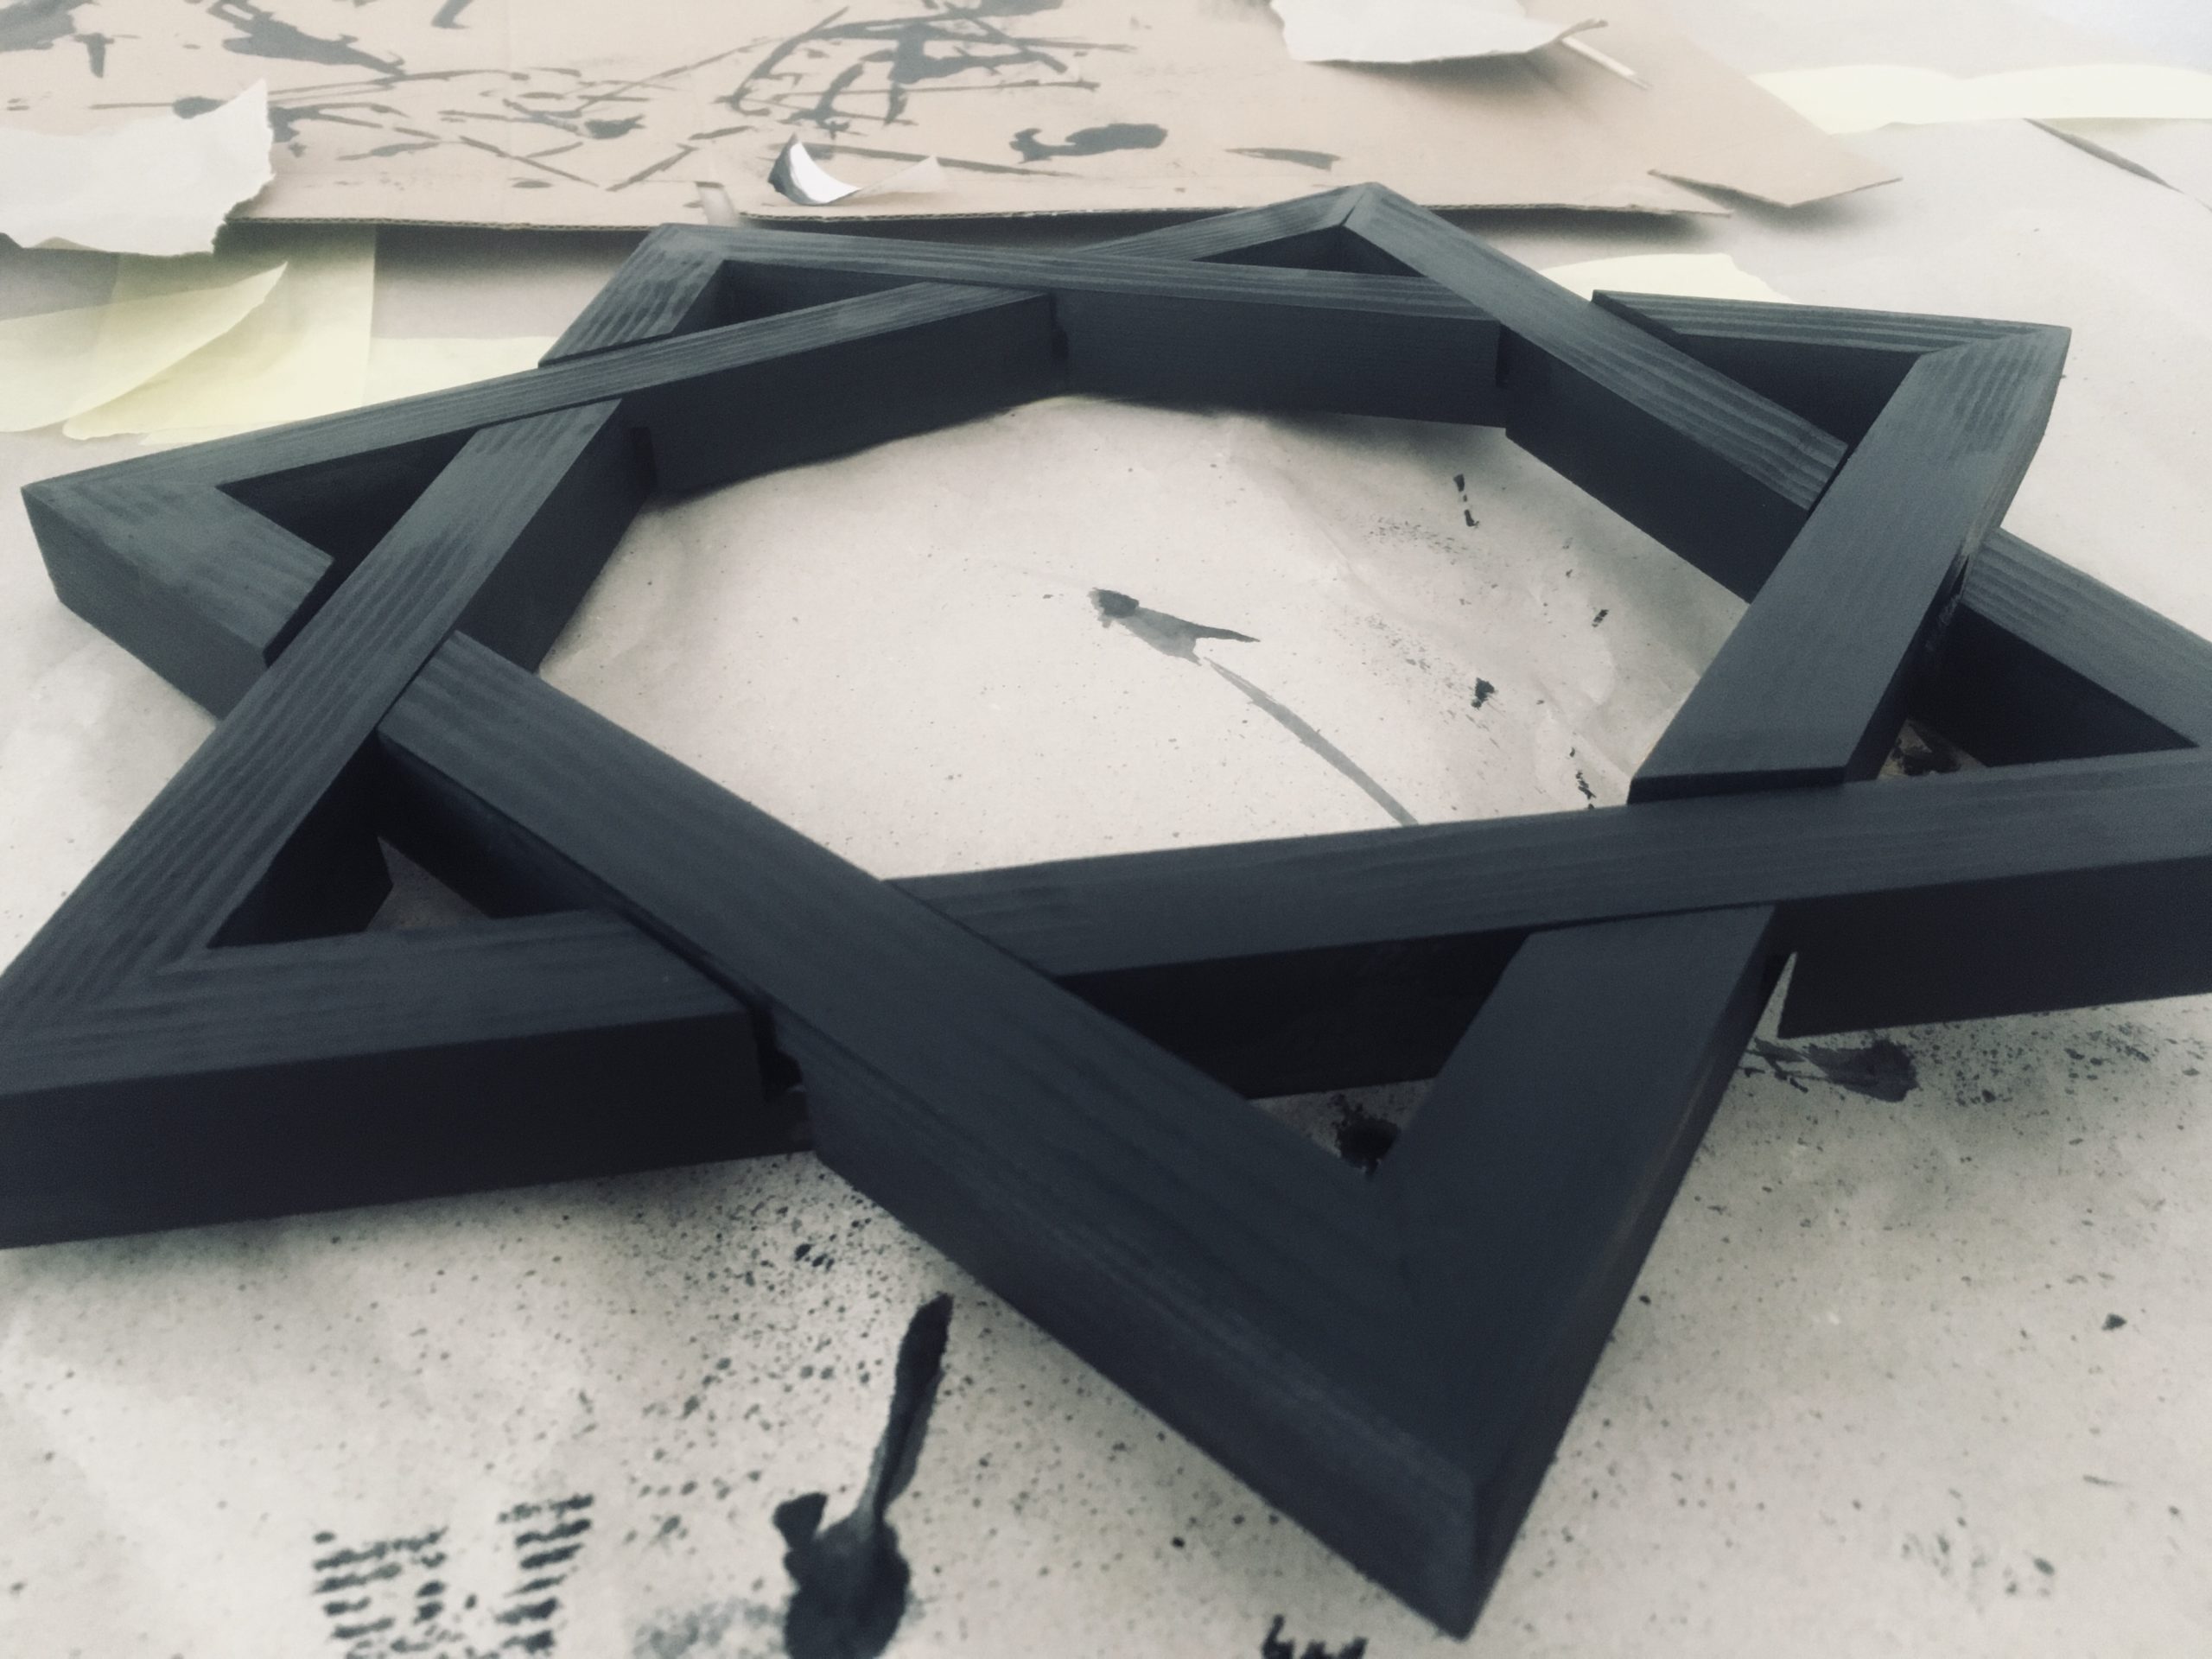
As soon as you’re happy with the result, glue it together.
Black?
One thing I can recommend is wood stain, it’s easy to apply and I personally like that it retains the grain of the wood.

Good Luck!
Spiral out.